What Is Brining Chicken?
Table of Contents
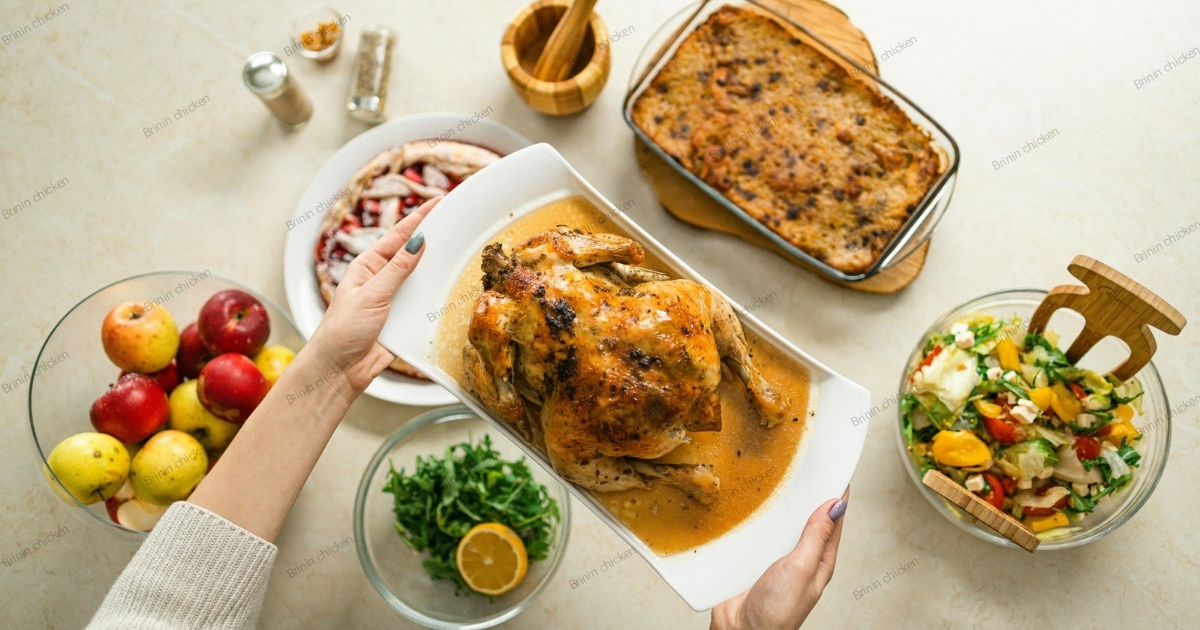
What Is Brining Chicken?
Brining chicken is a cooking method that makes ordinary chicken taste amazing. It requires submerging the chicken in a saltwater mixture. This helps keep the meat juicy and adds flavor.
The brining process lets salt and water get deep into the chicken’s meat. This makes the chicken tender and tasty. It’s a popular choice for both chefs and home cooks.
Brined chicken is juicier and tastes better than chicken cooked without brining. It’s perfect for roasting or grilling. With brining, you can make your chicken taste like it’s from a fancy restaurant.
Key Takeaways
- Brining enhances chicken’s moisture and flavor
- Salt solution helps break down protein structures
- Works for multiple chicken cuts and cooking methods
- Improves overall meat tenderness
- Simple technique that requires minimal additional equipment
Understanding the Science Behind Chicken Brining
When you cook chicken, knowing the science of brining can change your game. A salt brine solution is like a chemistry experiment in your kitchen. It changes how meat keeps moisture and takes in flavors.
The science of brining is all about how salt, water, and proteins interact. Your chicken turns into a masterpiece, crafted with care.
How Salt Affects Meat Structure
Salt is key in cooking meat. When you add a brine solution to chicken, salt molecules start breaking down proteins. This creates gaps for water to get trapped, leading to:
- Increased moisture retention
- Enhanced protein flexibility
- Improved meat tenderness
The Role of Osmosis in Brining
Osmosis is the magic of salt brine. As salt levels rise, water molecules move into the meat. This spreads flavors and moisture evenly, making the chicken taste better.
Chemical Changes During the Process
Brining triggers cool chemical changes. Proteins unwind, making room for water and seasonings. This turns the chicken into a moist, flavorful, and even-textured dish.
Grasping these scientific basics makes you a better cook. It turns simple brining into a powerful cooking skill.
Benefits of Brining Your Chicken
Poultry brining turns regular chicken into a culinary masterpiece. It brings out flavors and textures that make your cooking stand out. The secret is how it keeps the meat moist and soaks up seasonings deeply.
Key benefits of brining include:
- Enhanced Moisture Retention: Brined chicken stays juicy, even when cooked hot
- Improved Flavor Penetration: Salt and seasonings go deep into the meat, not just the surface
- Increased tenderness for a better taste in every bite
- Less chance of dry, tough chicken meat
The science behind brining is cool. Soaking chicken in saltwater helps it hold more water. This makes your brined chicken stay juicy and tasty, no matter how you cook it.
Professional chefs use poultry brining to make their dishes shine. With a few easy steps, you can make your chicken dishes as good as those in restaurants. It’s a simple way to make your meals unforgettable.
Essential Ingredients for the Perfect Brine Solution
Making a tasty salt brine solution is an art. It needs the right ingredients and the right amounts. With just a few simple parts, you can turn an ordinary chicken into a delicious dish.
Basic Brine Foundation
At the heart of a great brine solution are two key ingredients:
- Water: The main liquid carrier
- Salt: The main tenderizer and flavor booster
The basic brine ratio is 1 cup of salt per gallon of water. This mix helps break down proteins and lets moisture into the chicken meat.
Optional Flavor Enhancers
To make your salt brine even better, add these optional ingredients:
- Sugar (balances saltiness)
- Fresh herbs like rosemary or thyme
- Whole peppercorns
- Garlic cloves
- Citrus zest
Recommended Salt Types
Not all salt is the same for brine solutions. Kosher salt and sea salt are best because they’re pure and dissolve fast. Stay away from iodized table salt, as it can give your chicken a metallic taste.
Choosing the right salt affects your brine’s flavor and quality. Try different salts to find your favorite mix.
Wet Brine vs Dry Brine Methods
Choosing between wet brine and dry brine can change how your chicken tastes and feels. Both methods aim to make the chicken more moist and flavorful. However, they approach it differently.
A wet brine means soaking chicken in a saltwater mix for hours. This lets the meat soak up lots of liquid and seasonings. Dry brine, on the other hand, uses salt and spices rubbed on the chicken. This method pulls out moisture before soaking it back in.
- Wet brine works best for whole chickens or larger cuts
- Dry brine is ideal for smaller pieces and crispy skin lovers
- Preparation time varies between the two methods
| Characteristic | Wet Brine | Dry Brine |
|---|---|---|
| Moisture Level | Higher moisture retention | Concentrated flavor, less liquid |
| Skin Texture | Softer skin | Crispier skin |
| Preparation Time | Longer (4-12 hours) | Shorter (1-4 hours) |
Deciding between wet brine and dry brine depends on what you want. Wet brine offers even seasoning. Dry brine boosts flavor and makes the skin crisper. Try both to find your favorite way to cook chicken.
How to Make Brined Chicken at Home
Making delicious brined chicken at home is simple. The brining process turns regular chicken into a juicy, flavorful dish. It’s perfect for impressing your loved ones. With a few easy steps, you can make tender and flavorful brined chicken.
Essential Equipment for Brining
First, get these important items ready:
- Large food-grade plastic container or glass bowl
- Resealable plastic bags (for smaller cuts)
- Kosher salt or sea salt
- Measuring cups
- Refrigerator thermometer
- Clean kitchen towels
Step-by-Step Brining Instructions
Here’s how to brine chicken perfectly:
- Make your brine solution with water and salt
- Put the chicken in the brine
- Cover and chill in the fridge
- Rinse the chicken well before cooking
Temperature and Safety Guidelines
Keeping the right temperature is key for safe brining. Your fridge should be at or below 40°F (4°C) while brining. Never let brined chicken sit at room temperature for more than 2 hours. Chicken usually brines for 1-2 hours for small pieces and 8-12 hours for whole birds.
Pro tip: Always use fresh, high-quality chicken for the best brining results.
The brining process keeps chicken moist and boosts its flavor. By following these tips, you’ll make brined chicken as good as a restaurant’s in your kitchen.
Common Mistakes to Avoid When Brining
Brining chicken can be tricky, even for experienced cooks. Knowing common mistakes helps you make juicy, flavorful chicken every time.
Most mistakes come from not being precise. Here are some errors to avoid:
- Over-brining: Brining for too long can make the chicken overly salty and mushy.
- Incorrect salt levels can ruin the meat’s texture.
- Choosing the wrong containers can also cause problems.
Salt is key in brining. You need to get the salt-to-water ratio just right. Too much salt can dry out the meat, while too little means it won’t be seasoned well.
Keeping the chicken at the right temperature is also important. Always refrigerate it during brining to stop bacteria from growing. Brine at 40°F or below, never at room temperature.
- Choose containers like glass, ceramic, or food-grade plastic
- Stay away from metal containers that can react with the brine
- Make sure the chicken is fully covered in the brine
How long you brine depends on the chicken cut. A whole chicken might need 12-24 hours, while chicken breasts only need 2-4 hours. This ensures they soak up the right amount of flavor and moisture.
Best Cuts of Chicken for Brining
Poultry brining can make your chicken dishes amazing. Not all chicken cuts are the same for brining. Knowing which ones work best can really improve your cooking.
Choosing the right chicken cuts for brining is key. It’s about the meat’s texture and how well it holds moisture. Some cuts do better than others, based on their fat and muscle.
Ideal Chicken Cuts for Brining
- Whole chickens: Perfect for complete flavor infusion
- Chicken breasts: Lean cuts that dramatically improve with brining
- Thighs: Rich in flavor and moisture retention
- Wings: Great for absorbing seasoning
Brining Time Recommendations
| Chicken Cut | Brining Duration | Salt Concentration |
|---|---|---|
| Whole Chicken | 8-12 hours | 5-6% salt solution |
| Chicken Breasts | 2-4 hours | 4-5% salt solution |
| Chicken Thighs | 4-6 hours | 5% salt solution |
| Chicken Wings | 1-2 hours | 4% salt solution |
Tips for Whole Bird Brining
When brining a whole chicken, make sure it’s fully covered in the brine. Rotate the chicken periodically for even seasoning. Use a big, non-reactive container and keep it cold during brining.
Trying different cuts can teach you a lot about brining. Each cut has its own special qualities that brining can enhance.
Storage and Food Safety Guidelines
Storing brined chicken right is key to keeping it safe and healthy. When you use a brine solution for chicken, you must stick to certain rules. This ensures the meat stays good to eat.
One main rule is to keep the chicken and brine cold. They should stay at or below 40°F (4°C) to stop bacteria from growing. Never let raw chicken or brine sit out for more than 2 hours.
Storage Recommendations
- Refrigerate brine solution right after you make it
- Use sealed, non-reactive containers for brining
- Keep brined chicken covered in the fridge
- Don’t brine too long to avoid too much salt
Safe Storage Duration
| Chicken Type | Refrigeration Time | Freezing Recommendation |
|---|---|---|
| Whole Chicken | 1-2 days | Up to 1 month |
| Chicken Parts | 1-2 days | Up to 2 weeks |
Freezing brined chicken? Use airtight containers or vacuum-sealed bags to stop freezer burn. Always label containers with the date of brining to track freshness. Defrost frozen brined chicken in the refrigerator rather than at room temperature.
By sticking to these storage and food safety tips, you can enjoy tasty, safe chicken. It’s been made better by your special brine solution.
Cooking Techniques for Brined Chicken
Learning to cook brined chicken is all about understanding the wet brine’s magic. Different cooking methods can bring out the best in your brined chicken. This ensures it stays juicy and full of flavor.
Here are some important cooking techniques to keep in mind:
- Roasting: Lower the cooking temperature by 25-50 degrees. Brined chicken cooks faster because it’s more moist.
- Grilling: Grill at medium heat to avoid burning. The salt in the brine makes the outside crispy and caramelized.
- Frying: Dry the brined chicken well before breading. This helps get crispy skin.
- Sous vide: Brined chicken is perfect for precise cooking methods.
Temperature is key when cooking brined chicken. Always use a meat thermometer. Chicken needs to reach 165°F at its thickest part for safety.
Pro tip: Rinse the chicken well after brining and dry it with paper towels. This removes extra salt and helps get a golden-brown outside.
Brined chicken cooks faster than regular chicken. Monitor it closely to prevent overcooking.. This way, it stays tender and juicy.
Conclusion
Brining chicken makes any meal special. You can use wet or dry brine methods. The result is juicy, flavorful chicken that wows everyone.
Learning about brining opens up new cooking skills. It’s not just about following a recipe. It’s about grasping the science and perfecting the techniques.
Your brining journey is just starting. Every dish you make will teach you something new. It’s all about trying new things and practicing.
Brining works for whole birds or just chicken parts. It makes the meat taste better and feel more tender. Whether you choose dry or wet brine, your meals will be more delicious.
Start your brining adventure today. Use the best ingredients and follow the right salt ratios. Your chicken dishes will be more tender and tasty.
Brining is a powerful tool in your kitchen. It shows your passion for cooking and your skill. Use it to make your chicken dishes unforgettable.
FAQ
What is brining chicken, and why is it beneficial?
Brining is a method of soaking chicken in a salt-water mix. It makes the meat juicy and flavorful. The chicken absorbs the solution, making it tender and seasoned all through.
How long should I brine chicken?
Brining time varies by chicken cut and size. Whole chickens need 8-12 hours, while parts like breasts or thighs take 2-4 hours. Don’t over-brine to avoid too much salt and texture changes. Always keep it cold.
What’s the difference between wet and dry brining?
Wet brining soaks chicken in liquid, while dry brining uses salt rubbed on the chicken. Wet brining adds moisture, while dry brining crisps the skin. Both methods tenderize and flavor the meat, but dry brining is simpler and uses less space.
Can I add flavors to my brine?
Yes! You can add herbs, spices, citrus zest, garlic, or sugar to your brine. These extras add depth and complexity to your chicken, keeping it moist.
Is brining safe? How do I ensure food safety?
Brining is safe if done right. Brine chicken in the fridge to avoid bacteria. Keep it cold and cook to 165°F (74°C) to ensure safety.
Which type of salt is best for brining?
Use kosher or sea salt for brining. Avoid iodized table salt for its metallic taste. Kosher salt dissolves well and flavors evenly. Be careful with measurements due to different densities.
Can I brine frozen chicken?
Thaw chicken before brining. Brining frozen chicken may lead to uneven salt absorption and potential safety risks. Always thaw in the fridge and brine only when fully thawed.
What cuts of chicken work best for brining?
Lean cuts like breasts benefit most from brining. Whole chickens, thighs, and wings also work well. Avoid pre-seasoned or kosher chickens. Choose fresh, unprocessed chicken for the best results.